Using the Faction Burp Suite Extension
The Faction BurpSuite Extension makes much of what is available in the Web UI available right inside Burp Suite. With this extension, you can:
- Access all assessments and retests assigned to you
- Access Assessment notes
- Create and update findings
- Extract parts of the request and responses to add to the assessment report
- Add finding details in markdown
- Replay requests you or other assessors have reported
Configure the Extension
You can download the extension here . We also hoping to have it added to the BApp store soon.
Once installed in Burp, Navigate to the config tab. You need two things to configure:
- Your API key- This can be found in the Faction Web UI, under your profile (top upper right). If you do not have an API key then your administrator needs to give you the API permission.
- API URL - The API URL is most commonly something like
https://myserver.com/api. If you login to something different likehttp://myserver.com:8080/myfaction, then your API URL will behttp://myserver.com:8080/myfaction/api
Once configured, It should look something like this:
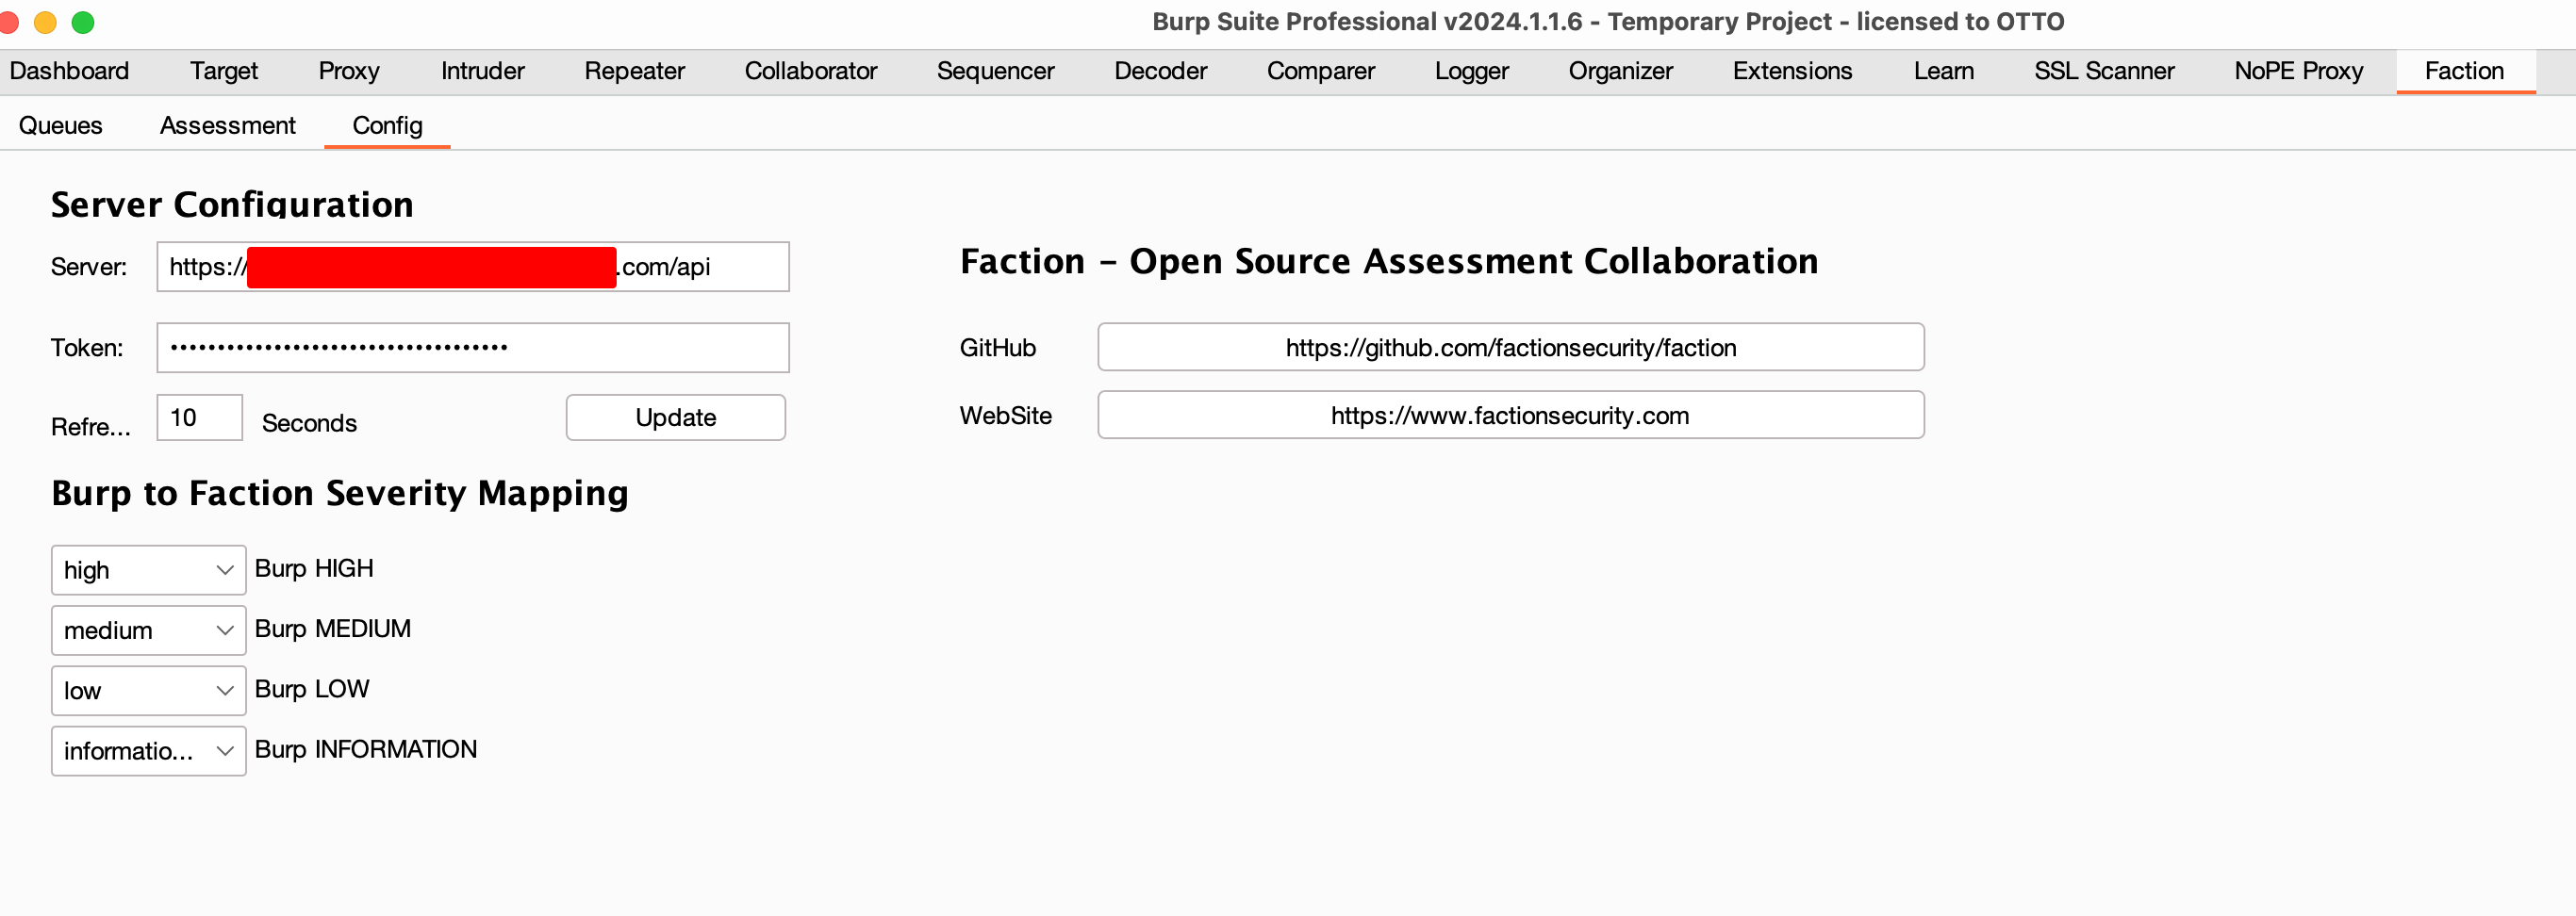
Severity Mapping
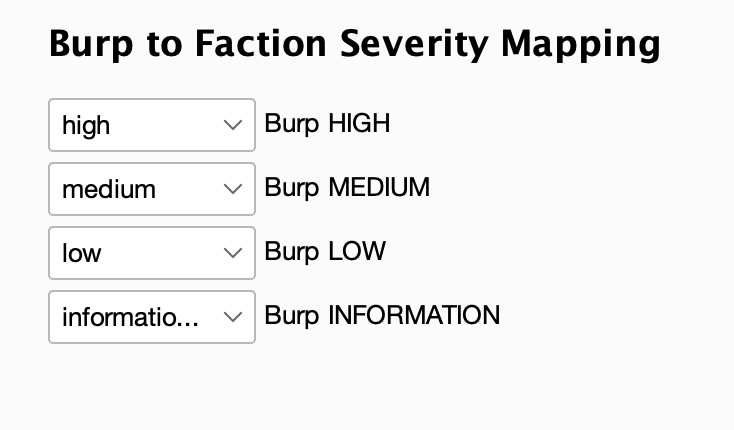
Severity Mapping is used to convert vulnerability severities that Burp Suite Reports to the custom severities you set in Faction. More on setting custom severities can be found here
Let's say your process requires that Criticals are called P1s and Highs are called P2s. Burp's Vulnerability Scanner finds a Critical issue that you want to report in Faction. You can now simply right-click the finding and add it to Faction and the extension will map the Critical to P1.
Viewing the Queues
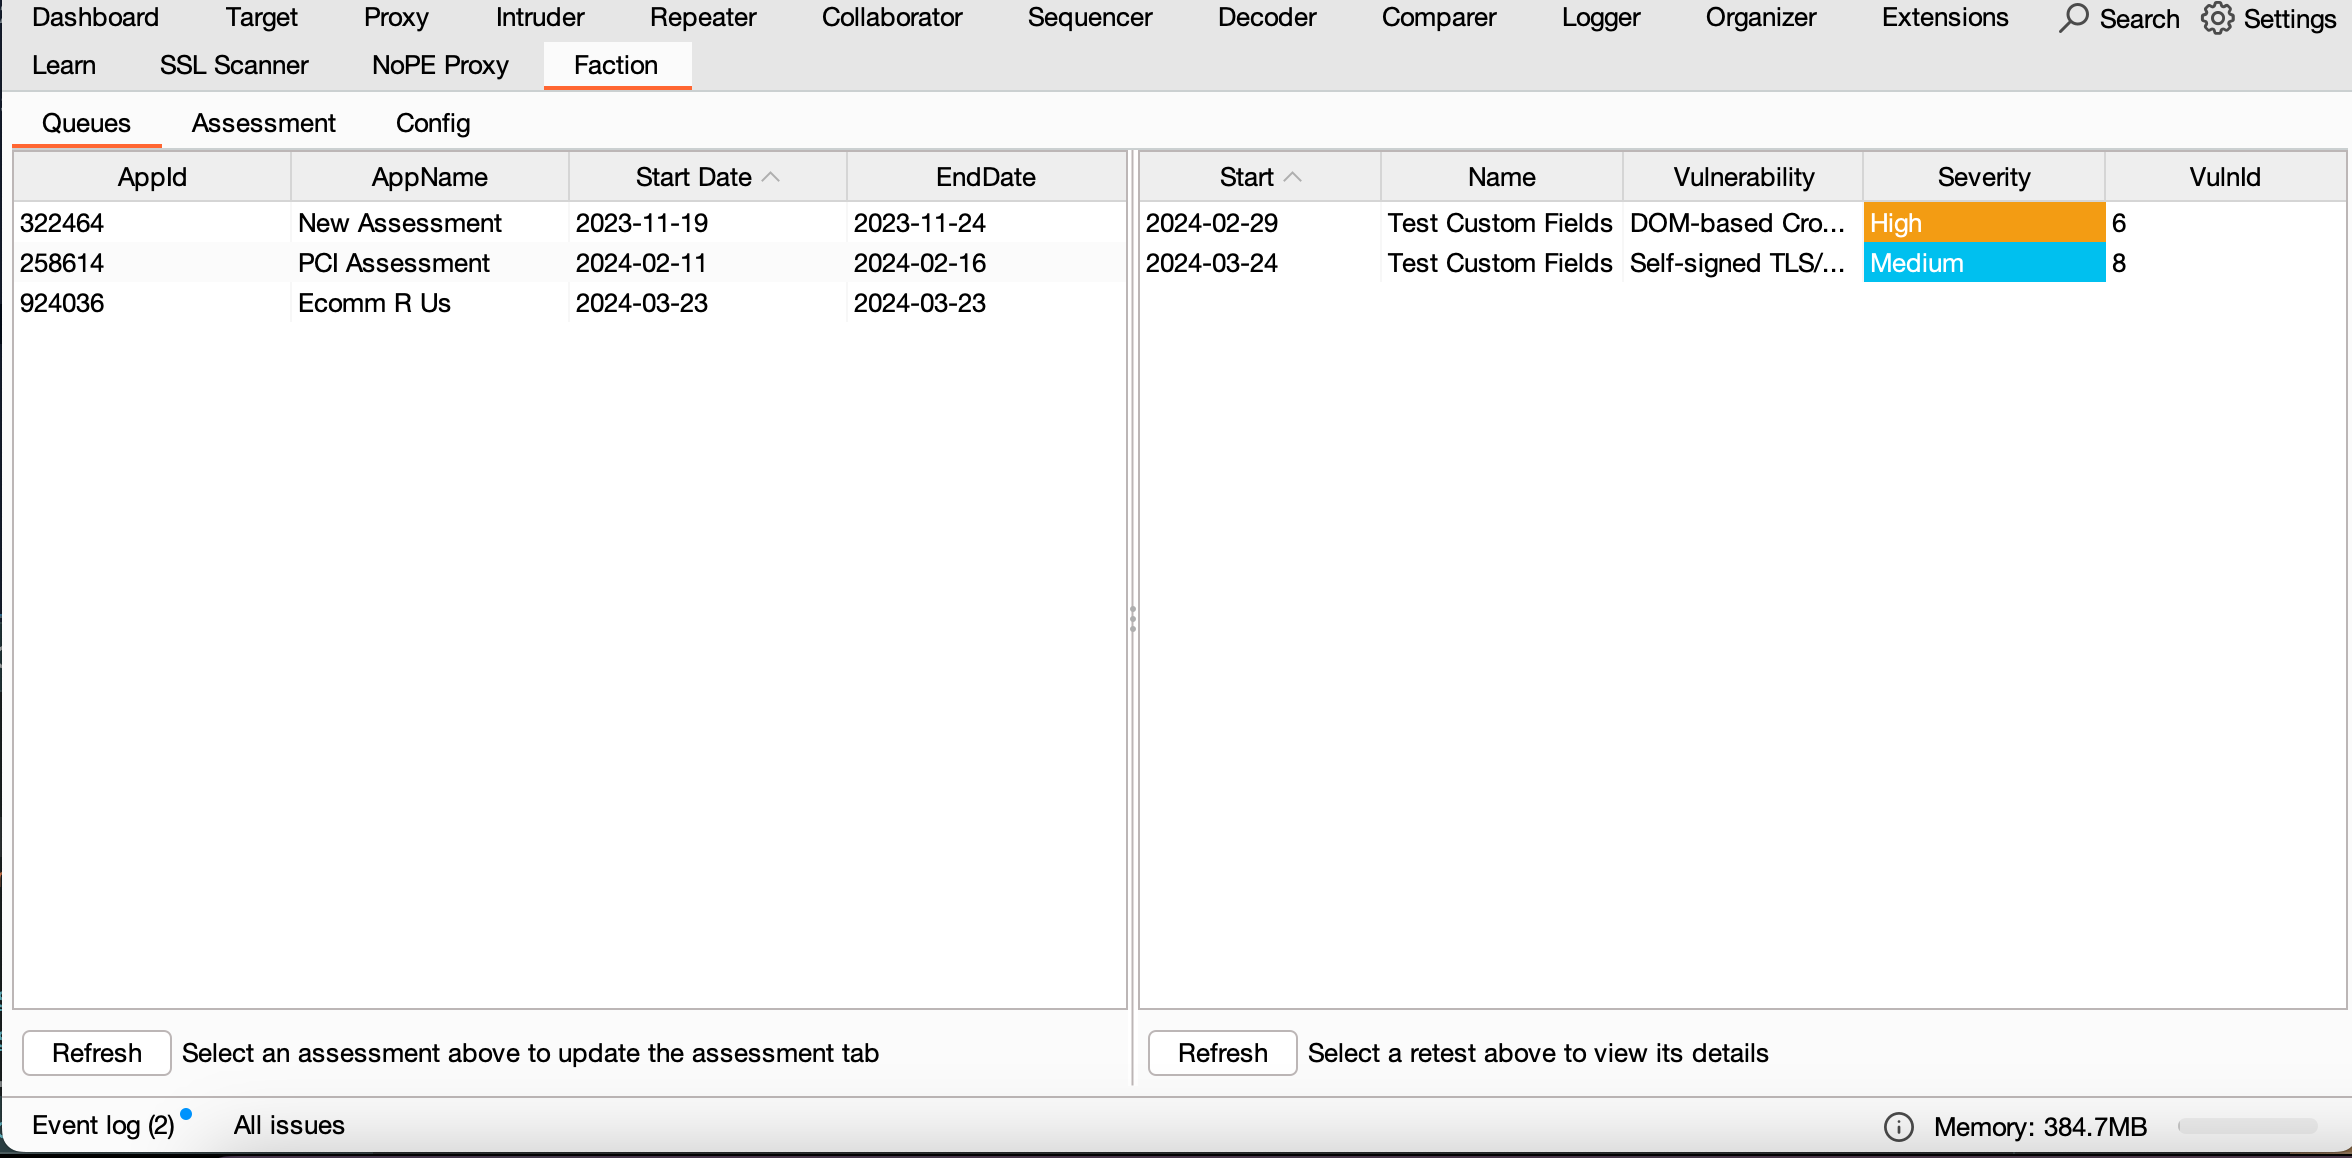
When you select Queues you will see both your assessments (left) and retests (right) queue. You can select an item in either table to view the data. This gives you all the information you need to start your assessment or verification without even logging into the Web UI.
Selecting an Assessment
From the Queues page, select your currently working assessment. This will set this assessment as the default assessment for all other dialog boxes, for example when adding a new vulnerability it will be reported in this assessment.
Once you select the assessment in the table, click Assessment. Now you will see the scope and shared notes about the assessment.
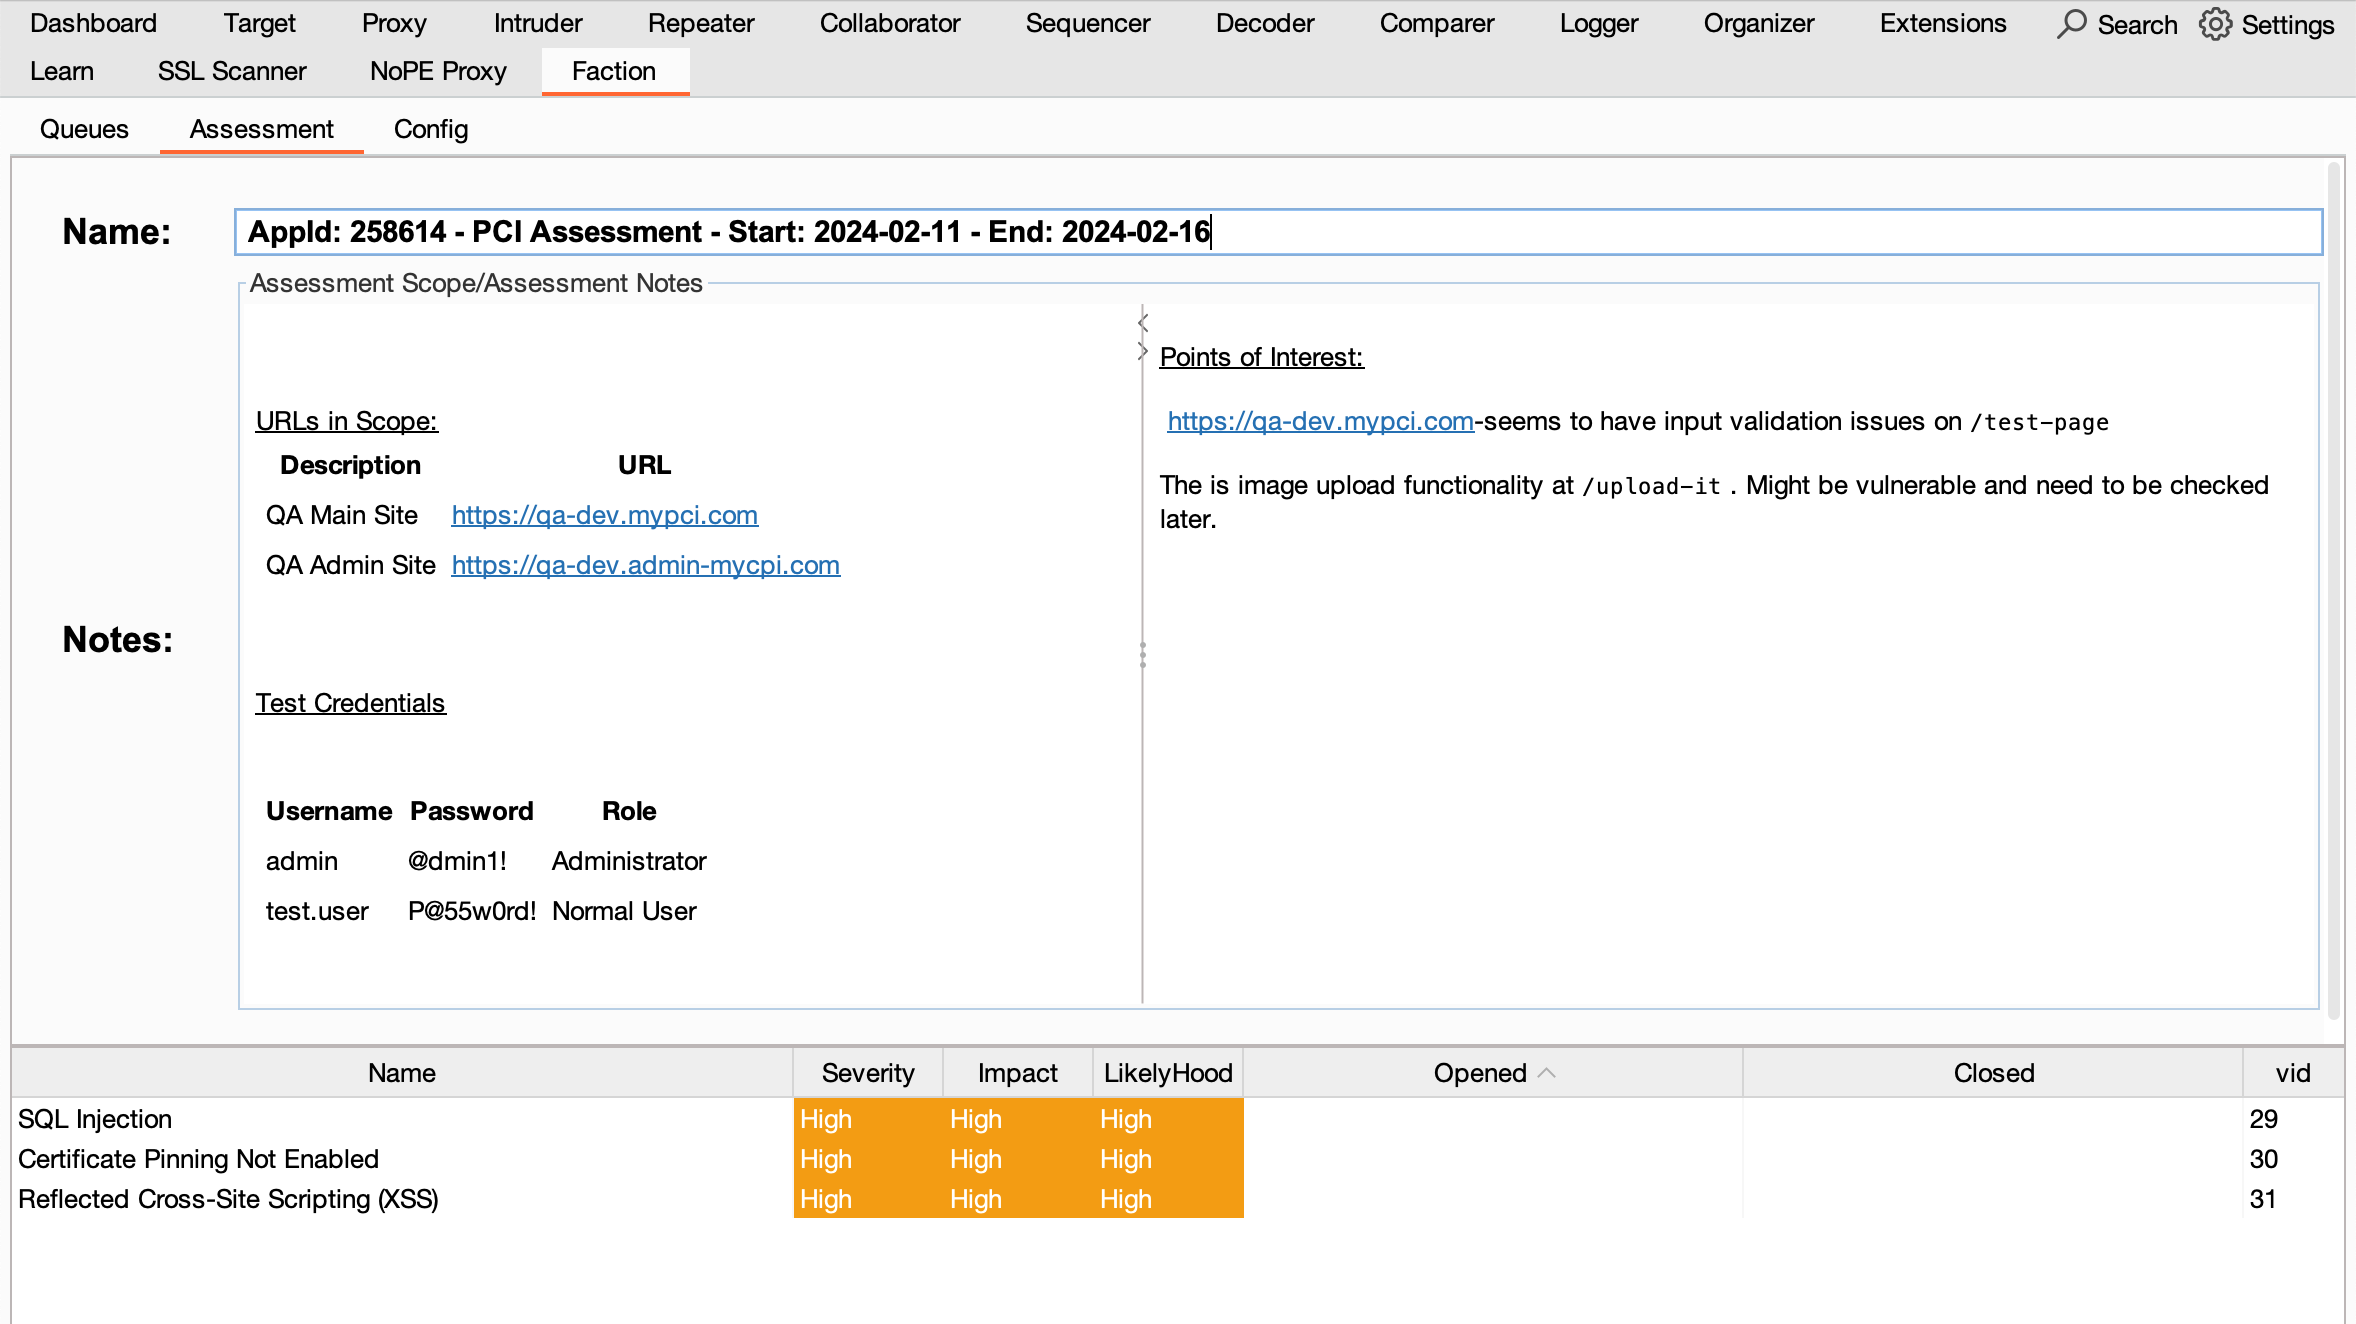
This keeps all the common information about the assessment handy, like in-scope URLs, test credentials, and even notes you want to share with other assessors on the same project.